


To fix SOS, No Service, or Searching on your iPhone or iPad, restart your device and check for a carrier settings update. Ensure you’re in an area with cellular network coverage and remove the SIM card, then reinsert it.
Experiencing connectivity issues with your iPhone or iPad can be frustrating, especially when your device displays SOS, No Service, or Searching signals. These messages suggest that your device is having trouble communicating with the cellular network. This guide provides straightforward steps to troubleshoot and resolve these common issues, ensuring you regain service as quickly as possible.
Quick solutions include confirming that your account is active with your carrier and that there are no outages in your area. Understanding these fixes not only restores your connection but also enhances your knowledge for future reference, making you more self-reliant in addressing cellular service problems.
Common Issues
Are you facing trouble with your iPhone or iPad? Seeing messages like SOS, No Service, or Searching can be alarming. These common issues often point to connectivity problems. Let’s explore each issue and find out how to fix them, ensuring you stay connected.
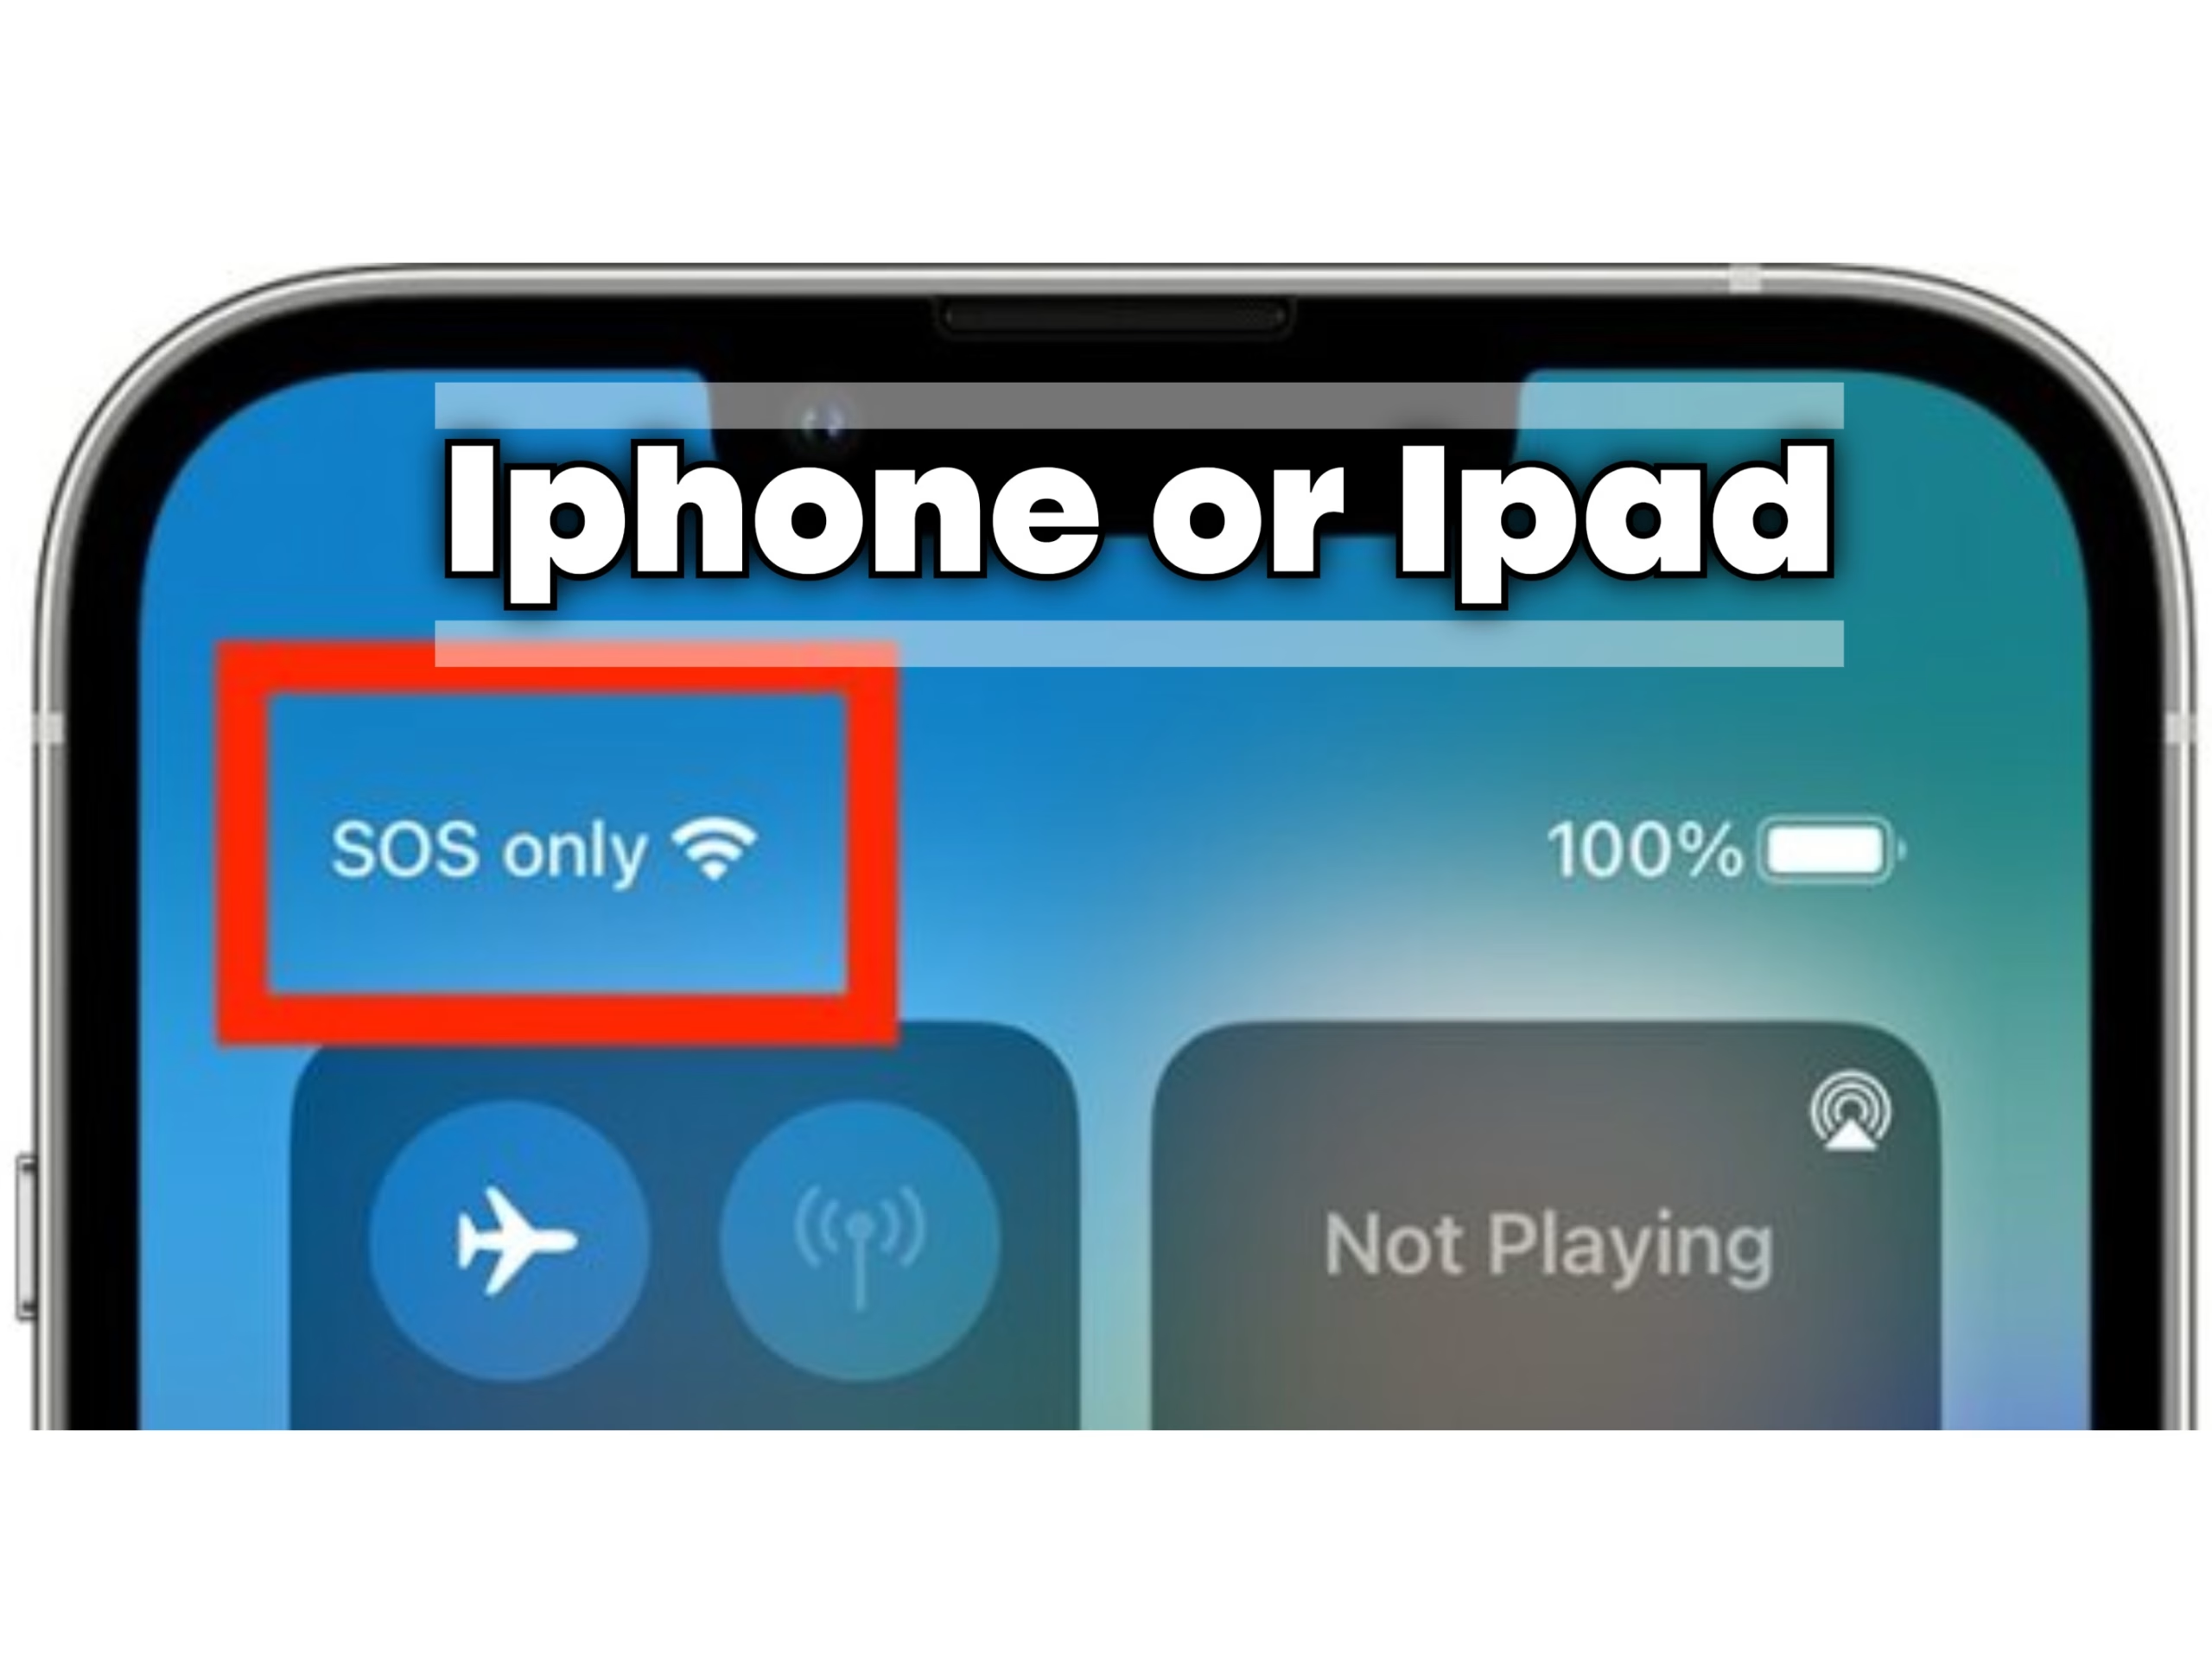
Sos Signal
An SOS signal on your iPhone indicates an emergency call feature is in use or there’s a need to check your network settings. If you’re not in an emergency, follow these steps:
- Check your coverage: Ensure you’re in an area with cellular network coverage.
- Restart your iPhone: This can re-establish network connections.
- Check for a carrier settings update: Go to Settings > General > About to see if an update is available.
If issues persist, see the table below for more troubleshooting tips:
| Problem | Solution |
|---|---|
| Network settings | Reset by going to Settings > General > Reset > Reset Network Settings. |
| SIM card issues | Remove and re-insert your SIM card. Ensure it’s not damaged. |
No Service Message
Seeing No Service on your device means it can’t connect to a cellular network. Let’s get you back to chatting and browsing:
- Toggle Airplane mode: Swipe into Control Center and tap the airplane icon.
- Update your iPhone: Install any pending software updates under Settings > General > Software Update.
- Check your carrier: There may be outages or account issues.
Still no service? Try the steps in the next table:
| Step | Action |
|---|---|
| 1 | Check for a valid plan with your carrier. |
| 2 | Contact support if the problem remains. |
Searching Status
When your iPhone or iPad says Searching, it’s looking for a network. Try these tips:
- Ensure you’re in a service area: Move to a location with better coverage.
- Remove your SIM card: Then put it back in. Make sure it fits properly.
- Reset network settings: This can often clear up the issue.
Consider the following solutions if the searching status continues:
| Fix | Details |
|---|---|
| Software | Ensure your iOS is up to date. |
| Support | If all else fails, reach out to Apple Support or visit an Apple Store. |

Check Carrier Settings
Sometimes, you might notice your iPhone or iPad showing ‘SOS’, ‘No Service’, or ‘Searching’. This can stop you from making calls or using data. A good step to solve this is to check your carrier settings. These settings help your device connect to your network. They need to be up-to-date to work well. Let’s dive into how you can update these settings and verify your account status to get back to full bars.
Update Carrier Settings
Keeping your carrier settings updated is crucial. It ensures your device can communicate with the cell network properly. Follow these simple steps to update:
- Open the Settings app on your iPhone or iPad.
- Tap General, then About.
- If an update is available, you’ll see an option to update your carrier settings.
Remember, having a Wi-Fi connection or a cellular network connection is necessary to update these settings. Sometimes, you might not see an update option. This usually means your settings are already up to date. If issues persist despite this, consider the following:
| Issue | Action to Take |
|---|---|
| Still seeing ‘No Service’ | Restart your device. |
| Update not appearing | Connect to Wi-Fi or try again later. |
| Carrier settings won’t update | Contact your carrier for help. |
Verify Account Status
At times, the problem might be with your account rather than the device. It’s wise to check if your account is active and in good standing. Here’s what you can do:
- Call your carrier to check your account status.
- Ensure your plan has not expired or been suspended.
- Confirm there are no outages in your area.
If your account is fine, try these steps:
- Remove your SIM card, then put it back in.
- Check for a carrier settings update again.
- Try your SIM card in another phone to see if it works.
If none of these steps work, your carrier may need to assist further. They can check for network issues or account problems you can’t see on your device. Always keep your carrier’s contact info handy for quick help.
Restart Device
Trouble with your iPhone or iPad showing SOS, no service, or searching messages can be a real headache. A quick and effective fix often lies in restarting the device. This simple act can refresh your device’s connection to the network. Let’s explore two ways to restart your device: a soft restart and a force restart.
Soft Restart
A soft restart is a basic but powerful step in troubleshooting. It’s easy and safe to perform. Follow these steps for a smooth soft restart:
- Press and hold the side button until the power off slider appears.
- Drag the slider, then wait 30 seconds for your device to turn off.
- To turn your device back on, press and hold the side button again until you see the Apple logo.
This process can help your device re-establish a network connection. It also closes apps that may be causing issues. The table below shows the steps for a soft restart:
| Action | What To Do |
|---|---|
| 1. Initiate Shutdown | Hold the side button and use the slider to turn off. |
| 2. Wait | Pause for half a minute. |
| 3. Restart | Hold the side button until the Apple logo shows up. |
A soft restart won’t erase the content on your device. It’s a good first step to fix minor glitches.
Force Restart
If a soft restart doesn’t solve the problem, try a force restart. This is a bit more powerful and can often kickstart your device back to normal. The steps to force restart depend on your iPhone or iPad model. Below is a guide:
- For iPhone 8 or later: Quickly press and release the volume up button. Press and release the volume down button. Then, press and hold the side button until the Apple logo appears.
- For iPhone 7, 7 Plus: Press and hold both the volume down button and the sleep/wake button. Release when the Apple logo shows up.
- For iPhone 6s and earlier, iPad with Home button: Hold down the Home button and the top (or side) button at the same time. Let go when the Apple logo is visible.
Just like a soft restart, the force restart won’t delete any data, but it can be more effective in solving tougher issues. The process interrupts any background tasks that might be causing the problem. Here’s a quick reference table for a force restart:
| Device | Steps |
|---|---|
| iPhone 8 or later | Press volume up, volume down, then hold side button. |
| iPhone 7, 7 Plus | Hold volume down and sleep/wake button. |
| iPhone 6s or earlier, iPad | Hold Home and top (or side) button. |
Remember, if these steps don’t work, you may need to check for other issues or contact Apple Support for help.
Inspect Sim Card
Seeing SOS, No Service, or Searching on your iPhone or iPad can be worrying. But, don’t fret! Often, the issue lies with the SIM card. Inspecting your SIM card is a smart step to troubleshoot. Let’s start by learning how to properly remove and reinsert the SIM card.
Remove Sim Card
To remove your SIM card safely, follow these steps:
- Turn off your device to avoid any potential damage.
- Find the SIM tray on the side of your device.
- Use a SIM eject tool or a small paperclip to push into the tiny hole next to the tray.
- Push gently until the tray pops out.
- Remove the SIM card carefully from the tray.
Inspecting your SIM card is crucial. Look for signs of:
| Check For | What To Do |
|---|---|
| Dirt or Dust | Clean with a soft, dry cloth. |
| Damage | Contact your carrier for a replacement. |
| Proper Fit | Ensure it matches the tray shape. |
Remember, handling your SIM card with care is key. Avoid touching the metal contacts to prevent damage.
Reinsert Sim Card
Once you’ve inspected and cleaned your SIM card, it’s time to reinsert it:
- Hold the SIM tray the right way up. The notch on the SIM card should match the tray.
- Place the SIM card gently into the tray.
- Slide the tray back into the phone, ensuring it’s flush with the phone body.
- Turn on your device and wait a few moments.
After reinserting the SIM card, check if the SOS, No Service, or Searching issue is resolved. If not, try these steps:
- Restart your iPhone or iPad.
- Check for a carrier settings update.
- Reset your network settings under Settings > General > Reset > Reset Network Settings.
If problems persist, contacting your carrier or visiting an Apple Store may be necessary. They can provide further assistance and, if needed, a new SIM card.
Airplane Mode
Seeing SOS, No Service, or Searching on your iPhone or iPad can be troubling. These signals often mean your device cannot connect to a network. A quick and effective way to troubleshoot is using Airplane Mode. This function halts all wireless connections. It’s like giving your device a brief break to recalibrate its connection settings.
Toggle Airplane Mode
Turning Airplane Mode on and off is a straightforward fix. This action refreshes your device’s network connections. Here’s a step-by-step guide:
- Swipe up from the bottom of your screen (or down from the top-right on newer models) to open the Control Center.
- Tap the airplane icon. It turns orange, indicating Airplane Mode is on.
- Wait a few seconds, then tap the icon again to turn it off.
This method often resolves temporary connectivity issues. It’s like a quick reset for your device’s network settings. Remember, Airplane Mode stops all wireless connections. This means no calls, texts, or data usage until you turn it off.
| Step | Action | Result |
|---|---|---|
| 1 | Open Control Center | Access to Airplane Mode |
| 2 | Tap Airplane Icon | Disables Wireless Connections |
| 3 | Wait & Tap Again | Resumes Wireless Connections |
Wait For Reconnection
After toggling Airplane Mode, your device needs time to reconnect. Here are steps to ensure a smooth reconnection:
- Keep your device in an open area with minimal interference.
- Wait 1-2 minutes before trying to use wireless services again.
- Check the signal strength in the top corner of your screen.
Signal strength can vary based on your location. Buildings or natural features can block signals. Patience is key. If your device doesn’t reconnect, consider moving to a different location. Open spaces often have better reception.
- Check Settings: If issues persist, review your device’s network settings.
- Restart Device: Sometimes, a simple restart can resolve connection issues.
- Carrier Help: Contact your carrier if problems continue. There may be a network outage.
Remember, waiting for reconnection is a normal part of toggling Airplane Mode. It gives your device a chance to find and lock onto the strongest signal. Ensuring a strong connection can enhance your device’s performance.
Network Settings
Seeing ‘SOS’, ‘No Service’, or ‘Searching’ on your iPhone or iPad can be worrisome. These messages usually mean your device cannot connect to a network. Luckily, you can often solve this issue with a few tweaks in the Network Settings. This part of your device holds all the keys to connecting with the world. Let’s dive in and find out how to fix these messages by adjusting your Network Settings.
Reset Network Settings
Resetting your network settings is a powerful step. It returns all network settings to factory defaults. This includes Wi-Fi networks, passwords, cellular settings, and VPN and APN settings you’ve used before. Remember, it won’t delete your data or apps, but you’ll need to re-enter Wi-Fi passwords and reconnect your devices. Here’s how you do it:
- Open Settings on your iPhone or iPad.
- Tap General.
- Scroll down and select Reset.
- Choose Reset Network Settings.
- If asked, enter your passcode.
- Confirm that you want to reset.
After the reset, your device will restart. It may take a minute to turn back on. Then, check if the signal issues are gone. If the problem persists, you might need to try other solutions.
Reconfigure Wi-fi
If resetting the network settings didn’t work, reconfiguring your Wi-Fi can help. This process involves forgetting the Wi-Fi network and then reconnecting to it. This can solve issues like incorrect settings or corrupted network data. Follow these steps to reconfigure your Wi-Fi:
- Go to Settings and tap on Wi-Fi.
- Find your Wi-Fi network on the list.
- Tap the info icon (i) next to your network.
- Select Forget This Network.
- Confirm your choice.
Now, set up your Wi-Fi again:
- Return to the Wi-Fi menu in Settings.
- Choose your network from the available list.
- Enter the Wi-Fi password.
- Tap Join.
Once reconnected, check if your device says ‘SOS’, ‘No Service’, or ‘Searching’. If it does, your next steps might involve checking for a carrier settings update or contacting your network provider.
Software Updates
Seeing “SOS,” “No Service,” or “Searching” on your iPhone or iPad can be worrying. A simple fix often lies within software updates. These bring fixes and improvements to keep your device running smoothly. Let’s dive into how updating your software can solve network issues.
Check For Updates
Staying updated is key to solving network problems. First, make sure your device connects to Wi-Fi. Then, follow these steps:
- Open Settings.
- Tap General.
- Select Software Update.
Your screen will show if an update is available. If it does, back up your data before proceeding. Use iCloud or your computer for this. Here’s a simple guide:
| Backup Method | Steps |
|---|---|
| iCloud |
|
| Computer |
|
After backing up, you’re ready to update. Keep your device plugged into power during the update process.
Install Latest Version
With your data secure, it’s time to install the latest version. Your device will show an option to Download and Install the update. Tap it and enter your passcode if prompted. The update might take some time, so be patient. Here’s what happens next:
- Your device will download the update. Make sure it stays connected to Wi-Fi and power.
- Once the download finishes, it will prepare the update. This may also take some time.
- When ready, your device will restart. It will then install the update.
- After the installation, the device may restart again. Then, it will be up to date.
Sometimes, you might need to update manually. If an error occurs or the update won’t start, try these steps:
- Check for enough storage. Delete unused apps or files if needed.
- Restart your device and try again.
- Update using your computer if the problem persists.
Remember, keeping your software up to date is crucial for performance and connectivity. Fix network issues fast by installing the latest software on your iPhone or iPad.

Carrier Support
Seeing ‘SOS’, ‘No Service’, or ‘Searching’ on your iPhone or iPad can be troubling. It often means you can’t make calls, send texts, or use mobile data. Carrier support is key to solving these issues. Your network provider can help fix service disruptions. They can also check if the problem is with your device or their network. Let’s explore ways to get help from your carrier.
Contact Customer Service
Reaching out to your carrier’s customer service is a smart first step. They offer help over the phone, online chat, or email. Here are some tips:
- Have your device handy for troubleshooting.
- Keep your account information close by. This includes your phone number and account PIN.
- Be ready to explain the problem. Say when it started and what you’ve tried so far.
If you need a swift fix, a call might be best. Here’s what to expect:
| Step | Action |
|---|---|
| 1 | Call your carrier’s customer service number. |
| 2 | Choose the option for technical support. |
| 3 | Explain your ‘SOS’, ‘No Service’, or ‘Searching’ issue. |
| 4 | Follow the rep’s instructions to fix the issue. |
Visit Local Store
Another option is to visit your carrier’s local store. Staff there can often help with service issues. They can also check your device in person. Here’s how to prepare for your visit:
- Find the nearest store with a quick online search.
- Check the store hours and if you need an appointment.
- Gather your device, ID, and account details.
Once at the store, the staff can:
- Run a diagnostic test on your device.
- Check for network outages in your area.
- Replace your SIM card if it’s faulty.
- Advise on repair or replacement if your device is the issue.
Remember, face-to-face support can be very effective. Staff can see the problem and offer direct help. They can also provide tips to avoid future issues.
Check For Outages
Seeing an SOS, No Service, or Searching message on your iPhone or iPad can be unsettling. It often means you can’t make calls, send texts, or use mobile data. A common reason for this is a service outage in your area. Let’s check for outages before trying other fixes. This simple step might save you time and effort.
Service Outage Reports
Outages can affect large areas and many users at once. Here’s how to find out if there’s an outage:
- Visit your carrier’s website. They often have a status page for outages.
- Check social media. Users and carriers post updates on platforms like Twitter.
- Use third-party websites that track outages. They show reports from users worldwide.
Keep track of reports in a table:
| Source | Check for | Reported Issues | Last Update |
|---|---|---|---|
| Carrier’s Website | Status Page | Yes/No | Date/Time |
| Social Media | Tweets/Posts | Number of Reports | Date/Time |
| Outage Trackers | Live Map | Number of Reports | Date/Time |
Note: Outage information updates often. Check back if you don’t see issues at first.
Community Feedback
Community feedback is invaluable during outages. Here’s why:
- Users share real-time experiences. This information is fresh and current.
- Feedback includes workarounds and fixes that worked for others.
- Communities support each other with tips and moral support.
Find community feedback through:
- Forums like Reddit and carrier community pages.
- Comment sections under outage reports on news sites.
- Local neighborhood apps and websites.
Record feedback in a simple format:
| Platform | Type of Feedback | User Sentiment | Useful Tips |
|---|---|---|---|
| Carrier Forum | Posts/Threads | Positive/Negative | Yes/No |
| Comments | Helpful/Frustrated | Yes/No | |
| Neighborhood App | Status Updates | Calm/Worried | Yes/No |
Remember: Community feedback is user-generated. Always confirm with official sources.


Restore Device
Seeing ‘SOS’, ‘No Service’, or ‘Searching’ on your iPhone or iPad can be unsettling. These signals often point to connectivity issues. A simple and effective way to tackle this is to restore your device. This process returns your device to its original factory settings, often eliminating software glitches. Before starting, ensure you back up your data to avoid loss. A factory reset is a powerful tool. It can refresh your device and clear persistent network problems. Let’s dive into the steps to secure your data and reset your device safely.
Backup Data
Before resetting, backing up your data is crucial. This ensures you keep all important information safe. Here’s how to secure your data:
- Connect your iPhone or iPad to Wi-Fi.
- Go to Settings > [your name] > iCloud.
- Tap iCloud Backup.
- Hit Back Up Now and wait for the process to finish.
Alternatively, use iTunes to back up:
- Open iTunes on your computer and connect your device.
- Select your iPhone or iPad when it appears in iTunes.
- Choose Back Up Now under Manually Back Up and Restore.
Check your backup completion:
- Go to Settings > [your name] > iCloud > iCloud Storage > Manage Storage.
- Select your device. You should see the latest backup listed.
Factory Reset
After backing up, proceed with a factory reset. This will erase all content and settings. Follow these steps:
- Go to Settings > General > Reset.
- Tap Erase All Content and Settings.
- Enter your passcode or Apple ID when prompted.
- Confirm you want to erase everything.
Your device will restart as if it were new. Once erased, you can set up your device:
- Follow the on-screen setup steps until you reach the Apps & Data screen.
- Choose Restore from iCloud Backup.
- Sign in to iCloud and select your backup.
After these steps, your iPhone or iPad should no longer display ‘SOS’, ‘No Service’, or ‘Searching’. If issues persist, contact Apple Support or visit an Apple Store for professional assistance.
Hardware Issues
Seeing SOS, No Service, or Searching on your iPhone or iPad can be alarming. Often, these issues are related to hardware problems. Let’s explore how to identify and fix them.
Inspect Antenna
The antenna plays a crucial role in your device’s ability to connect to cellular networks. If it’s damaged or obstructed, you might see SOS, No Service, or Searching messages. Follow these steps to inspect it:
- Find the antenna: On most iPhones, it’s located around the frame. iPad antennas might be behind the screen.
- Look for obstructions: Ensure nothing blocks the antenna, like a case or dirt.
- Check for physical damage: Look for any signs of wear or breaks.
If you discover damage or obstructions, cleaning or removing them might help. In cases of physical damage, consider a professional repair.
Check For Damage
Physical damage to your iPhone or iPad can cause network issues. Here’s how to check for signs of damage that could affect your device’s connectivity:
- Screen cracks: Major cracks can impact internal components.
- Water damage: This can corrode parts crucial for network connection.
- Bent frame: A bent frame can harm internal parts, including the antenna.
If you find any damage, it’s important to get your device checked by a professional. They can assess the impact on your device’s ability to connect to networks and suggest the best course of action.
Alternative Solutions
Are you struggling with ‘SOS’, ‘No Service’, or ‘Searching’ on your iPhone or iPad? Don’t worry, there are alternative solutions to this common issue. Apart from standard fixes, like checking for a software update or resetting network settings, other effective methods can help. Let’s explore how Wi-Fi calling and trying a different SIM card can be your saviors.
Use Wi-fi Calling
Sometimes, cell signals are weak, but Wi-Fi can be strong. In such cases, Wi-Fi calling is a lifesaver. Turn on Wi-Fi calling to make phone calls using a Wi-Fi network. It’s simple to set up:
- Go to ‘Settings’ on your iPhone or iPad.
- Tap ‘Phone’ or ‘Cellular’.
- Select ‘Wi-Fi Calling’.
- Switch ‘Wi-Fi Calling on This iPhone’ to on.
If you have an iPad, make sure you’re signed into iCloud and FaceTime with the same Apple ID as your iPhone. This will allow your iPad to make and receive calls even when your iPhone is not nearby. Here are additional tips:
- Ensure your Wi-Fi connection is stable.
- Update your device to the latest iOS version.
- Contact your carrier to verify if Wi-Fi calling is supported and activated for your plan.
Remember, Wi-Fi calling is free for domestic calls in most cases. However, for international calls, your carrier’s rates will apply.
Try Another Sim
Another effective method is to try a different SIM card in your device. This will help you understand if the problem is with your SIM or your iPhone/iPad. Follow these steps:
- Power off your device.
- Use a SIM card ejector to open the SIM tray.
- Remove your current SIM card and replace it with another one.
- Power on your device and check for service.
If your device shows service with the new SIM, your old SIM might be the issue. Contact your carrier for a replacement. If the problem persists, it might be a device issue. Consider these points:
- Check for visible damage on the SIM tray.
- Clean the SIM card with a soft cloth.
- Ensure the new SIM is active and compatible with your device.
Trying a different SIM will not only pinpoint the problem but also confirm if your device is locked to a specific carrier. Unlocked devices should work with any compatible SIM card.
User Forums
Encountering ‘SOS’, ‘No Service’, or ‘Searching’ messages on your iPhone or iPad can leave you feeling disconnected. Fear not, user forums are packed with wisdom from people who have faced the same problem. These online communities offer a gold mine of solutions and tips. They are the go-to spots for troubleshooting with fellow users. Join the conversation and find a fix that works for you.
Search For Similar Issues
First, dive into user forums to find threads related to your device woes. Here’s what to do:
- Identify Your Device Model: Knowing your iPhone or iPad model will help you find specific solutions.
- Use Keywords: Search with terms like ‘iPhone no service’ or ‘iPad SOS’.
- Read Through Posts: Look for patterns in what fixed the issue for others.
- Check Dates: Focus on recent posts to ensure the advice is up-to-date.
Take notes of common fixes and try them out. You may find a quick fix or a workaround that gets you back in service.
Post Your Problem
Still stuck? It’s time to post your problem. Here’s a helpful guide:
- Create a Clear Title: Make it easy for others to understand your issue.
- Detail the Problem: Describe what happened and any steps you’ve taken.
- Be Patient: Give the community time to respond with their insights.
- Follow Forum Rules: Respect the guidelines for posting and replying.
Engage with those who offer help. Ask questions if their instructions aren’t clear. Remember, the more details you provide, the better the community can assist you.
Seek Professional Help
Seeing SOS, No Service, or Searching on your iPhone or iPad can be worrying. You might try fixing it yourself. But, sometimes, it’s best to seek professional help. This ensures your device gets the correct care it needs. Let’s explore where you can find expert help.
Visit Apple Store
Heading to an Apple Store is a smart move. Here’s why:
- Expert Technicians: They know Apple products inside out.
- Free Diagnostics: They check what’s wrong without charging you.
- Genuine Parts: If they need to replace something, it’s always the real deal.
But, remember to book an appointment. Apple Stores are busy places. Also, bring your proof of purchase. Sometimes, if your device is under warranty, the fix might be free.
| Service | Cost | Warranty |
|---|---|---|
| Diagnostic | Free | N/A |
| Screen Repair | Varies | Yes, if under warranty |
| Battery Replacement | Varies | Yes, if under warranty |
Authorized Repair Centers
Not close to an Apple Store? Check out an Authorized Repair Center. Here’s why they’re a good choice:
- Certified by Apple: They meet high standards.
- Original Parts: They use parts that Apple approves.
- Trained Technicians: Their staff knows how to fix Apple devices.
Before you go, call ahead. Ask about their services and costs. Some repairs might have different prices than at an Apple Store. Plus, it’s good to know how long the repair will take. That way, you won’t be without your device for too long.
| Service | Cost | Duration |
|---|---|---|
| Diagnostic | May vary | 1-2 hours |
| Screen Repair | May vary | Same day |
| Battery Replacement | May vary | 1-2 days |
Both options provide quality service for your iPhone or iPad. Choose the one that suits your needs best. Also Read
Frequently Asked Questions
Why Does My Iphone Say Sos Only?
Your iPhone may display ‘SOS Only’ when it’s unable to establish a stable connection with the cellular network. This could be due to various reasons, such as being in an area with poor reception, a carrier service disruption, or a problem with your iPhone’s software or hardware components.
How Can I Fix The ‘no Service’ Error On Iphone?
To fix a ‘No Service’ error, start by toggling Airplane mode on and off. If that doesn’t work, check for carrier settings updates, reset network settings, or remove and re-insert your SIM card. Ensure your device’s software is up to date, and contact your carrier if issues persist.
What Does ‘searching’ Mean On My Ipad?
When your iPad displays ‘Searching,’ it is attempting to find a cellular network. If it persists, ensure you’re in an area with network coverage. Also, verify your cellular settings and consider restarting the iPad, or resetting the network settings if the problem continues.
Can A Damaged Sim Card Cause Connectivity Issues?
Yes, a damaged SIM card can lead to connectivity issues such as ‘SOS,’ ‘No Service,’ or ‘Searching’ signals. Inspect your SIM for any visible damage and clean it with a soft cloth. If the issue continues, you may need to replace the SIM card.
Conclusion
Wrapping up, encountering SOS, No Service, or Searching alerts on your iPhone or iPad can be frustrating. Thankfully, addressing this issue often involves simple fixes. Whether it’s updating your device, checking your SIM card, or resetting network settings, these steps can restore your connection.
Remember, staying informed and proactive is key to smooth mobile device use.